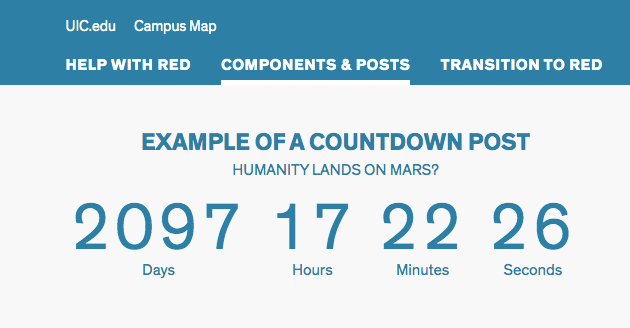
Countdowns
How to create and display Countdown posts on your site
The Countdown post type provides a custom post option to create a timer on the pages where it is attached, providing an option to visually display the end of an event or application. This post is available for implementation on the Homepage as well as Landing and Default template pages.
Details of the post type

Similar to Billboard posts, users will need to first go into Post Types and create a new Countdown post.
The fields for the post include:
- Title
- Subtitle
- Target date
- Target time
- Option to include a Link
- Option to give Link an ID for better analytics tracking
Published Countdown posts can be added when editing/creating new pages. In the page editing screen of those page templates that allow Countdowns, go to the Accordion Tab titled “Attach Countdown.”
Once you select the checkbox next to “Include a Countdown,” you will see a list of published Countdown posts from which to select to add to the page.
- It is important to note that when a Countdown post expires, it will appear as “Expired” on the page. You will need to either manually remove it from the page back-end and update the page, OR set the Page Expirator function in the actual Countdown Post itself, to return to “Draft” form at the end date.
Accessibility Requirements
The Accessibility needs of this component are all built in the component.